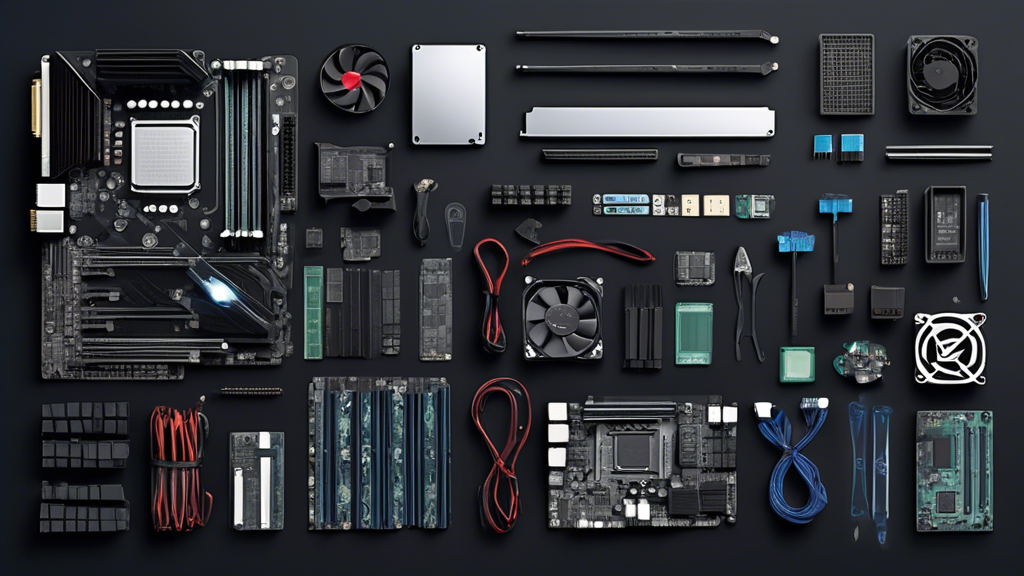
Ah, the world of PC building—part jigsaw puzzle, part tech wizardry, and entirely satisfying! Imagine this: you’ve just unboxed a shiny new CPU, GPU, motherboard, RAM sticks, and all the other necessary bits and bobs. Each component, gleaming in its anti-static bag, waits for your expert touch to come together like a modern tech masterpiece. So, why should you even consider diving into the intricate but rewarding process of building your own custom PC?
Well, for starters, building your own PC can save you a ton of cash. Yes, you heard me right. By carefully selecting each component, you can strike the perfect balance between performance and cost efficiency. Forget about paying a premium for pre-built systems stuffed with components you neither want nor need. Instead, you could channel that saved dinero into a beefier GPU or a faster SSD—choices that’ll make your rig scream through the latest games like a hot knife through butter.
But wait, there’s more! Performance is another big win here. Pre-built machines often come with bloatware or mismatched components that bottleneck your system. When you build it yourself, you choose every single piece, ensuring harmony and peak performance. Want to throttle that next-gen game on the highest settings? Go ahead. Need a beast of a machine for video editing or 3D rendering? No sweat. The power is—quite literally—in your hands.
Then, there’s the cherry on top—personalization! Customizing your PC means it’s not just another black box under your desk. It’s an extension of your personality. Disco RGB lighting? Check. A case window that proudly displays your hardware prowess? Double-check. Have a favorite color scheme? Yasss, queen, slay it! Your build can be as unique as you are.
Now, before you get too excited and run off to the nearest tech store or start an online shopping spree, hold your horses. It’s crucial to get a lay of the land first. The custom PC building process might seem like an intimidating labyrinth of wires, screws, and jargon, but don’t worry. Think of it as assembling Lego, but for grown-ups—and with a kick-ass payoff at the end.
We’ll walk you through the components you’ll need, with special attention to compatibility and balance. It’s like a perfect recipe where each ingredient must complement the other. We’ll break down the entire assembly process, step by step, from prepping your workspace to the final system checks. And let’s not forget those inevitable minor hiccups. Our post-build tips and troubleshooting section will be your best friend when (not if) something goes awry.
So, buckle up! Building a PC from scratch is like embarking on a grand adventure, one where you’re the hero who defeats lag, slashes through low FPS, and emerges triumphant with a customized, high-performance beast of a machine. Let’s get those hands dirty, shall we?
Introduction: Why Build Your Own Custom PC?
Building your own custom PC is like embarking on a daring adventure in the tech wilderness, armed with nothing but your wits and a toolkit. It’s downright exhilarating! But why, you might ask, should you trade the comforts of pre-built machines for this techno-adventure? Buckle up as we dive into the sparkling benefits!
Benefits of Building a Custom PC
1. Cost Efficiency
Slash through the mists of overpriced retail PCs with the sword of frugality! When you build your own custom PC, you can cherry-pick parts that give you the most bang for your buck. Why pay for a flashy pre-built system with unnecessary bells and whistles when you can channel your funds into powerful, performance-enhancing components? Think of it as budgeting magic, turning hard-earned dollars into raw computing power.
2. Tailored Performance
Why drive a stock car when you can zip around in a custom ride designed just for you? The real beauty of a custom PC lies in its exquisite potential for tailored performance. Are you a gamer itching for higher FPS, or perhaps an artist in need of silky-smooth graphic rendering? Customize your build to your specific needs, and you’ll never look back.
3. Personalization
Enter the dragon lair of personalization where your PC can reflect your unique style. Fancy some RGB flair or a minimalist black-and-white theme? From the case design to the tiniest details, building your own custom PC allows you to create a machine that mirrors your personality. It’s your tech baby, born from hours of tweaking and customizing!
Overview of the Custom PC Building Process
Ready to plunge into the process? Building a custom PC might sound as cryptic as deciphering the Enigma machine, but in reality, it’s more like a delightful (albeit intricate) Lego project. Here’s a sneak peek at what to expect on this thrilling journey.
1. Picking the Right Parts
Your custom PC bestows boundless freedom in choosing the components that will define its soul. This involves selecting the critical bits – CPU, GPU, motherboard, RAM, storage, and more. Think of it as assembling an all-star team, each player boasting its unique strength.
2. Assembling the Dream Machine
Time to roll up those sleeves! This step can feel a bit like performing tech surgery, delicate and precise. But fear not, we’ll guide you through installing the CPU with ninja precision, setting up the motherboard, and putting together your system with finesse and flair.
3. Powering Up and Debugging
Press that power button and send a prayer to the tech gods. Most builds boot up smoothly, but in case of hiccups, we’ve got you covered with troubleshooting tips. Think of it as your dragon-slaying guidebook for overcoming post-build challenges.
4. Wrapping Up with Upgrades and Overclocking
Your new PC is alive! But the journey doesn’t end here. Upgrades, overclocking, and regular maintenance are your trusty companions, ensuring your machine stays in peak condition, ready to take on new, exhilarating quests.
Building your own custom PC isn’t just a money-saving, performance-boosting endeavor. It’s a rite of passage for any tech enthusiast, a journey filled with learning, creativity, and ultimately, the euphoria of breathing life into a machine crafted by your own hands. Stay tuned as we delve deeper into choosing the essential components for your epic build!

Essential Components for Your Custom PC
When it comes to diving under the hood and building your very own custom PC, the first step is getting chummy with the essential components. This is like assembling an all-star squad for your dream team—each position crucial to winning the game. Let’s dig into the nuts and bolts (not literally, yet!).
Central Processing Unit (CPU)
The CPU is the brain of your PC. Think of it as the Sherlock Holmes of your build, solving all the computational mysteries. The big names in the detective game are Intel and AMD. Intel chips often boast higher clock speeds but can be pricier, while AMD offers bang-for-the-buck multi-threading performance.
Imagine this: You wouldn’t want a marathoner to compete in a weightlifting contest, right? Likewise, choose a CPU that aligns with your primary tasks—gaming, content creation, or general use. Opt for the Intel Core i9 or AMD Ryzen 9 for powerhouse performance in demanding tasks. For the casual users, even an Intel Core i5 or Ryzen 5 should serve well.
Graphics Processing Unit (GPU)
Here’s where the magic happens, folks! The GPU, or graphics card, turns complex computations into stunning visuals. If the CPU is Sherlock Holmes, then the GPU is Doctor Strange, casting its graphical spells. Nvidia and AMD dominate this realm too. Nvidia’s RTX series, especially the RTX 3080, is perfect for top-tier gaming and rendering. On the AMD side, the Radeon RX 6800 XT is a beastly alternative.
But remember, if you’re just making spreadsheets look pretty, integrated graphics from CPUs like the AMD Ryzen with Radeon Vega or Intel’s UHD Graphics will suffice. For gamers and designers, though, this is where you splurge.
Motherboard
The motherboard is the unsung hero—Tony Stark’s arc reactor. It ties everything together, ensuring components communicate seamlessly. Brands like ASUS, MSI, and Gigabyte offer solid choices. Pay attention to form factor (ATX, Micro ATX, Mini ITX) based on your case size. Review compatibility for CPU sockets and ports—your i9 isn’t going to fit just anywhere.
Random Access Memory (RAM)
Memory—can’t live with it, can’t live without it! RAM serves as your workspace, holding the data you’re using right now. More is usually better, especially for gaming and rendering. Our everymiddleware here is 16GB if you’re dabbling in creative suites or heavy gaming. Hitting the 32GB or even 64GB mark wouldn’t be an overkill if you’re into video editing or running multiple virtual machines—the equivalent of opening 100 Chrome tabs without crashing.
Storage Options (SSD vs. HDD)
Let’s hit the clutch, because storage can be a slippery road. Solid State Drives (SSD) vs. Hard Disk Drives (HDD)—akin to a Tesla versus a reliable old pickup. SSDs are blazing fast, which is why they’re ideal for your operating system and key games/applications. Think of it like having a snappy assistant who gets things done in the blink of an eye.
Meanwhile, HDDs offer sheer bulk at lower costs, perfect for storing large files like your entire anime collection or high-res photos. For most builds, a combo of a smaller SSD (250GB to 1TB) for the OS and a larger HDD (2TB or more) for bulk storage hits the sweet spot.
Importance of Compatibility and Balance
It’s easy to make a rookie mistake by splurging on a high-end CPU while skimping on the GPU, only to end up with a bottleneck situation that slows everything down. This isn’t budgeting; it’s balancing. Aim for a harmonious blend where each component complements the other.
Consider thermal design power (TDP)—your radiator isn’t going to cool an oven. Make sure the wattage (power demand) and cooling capabilities of your build keep your rig from frying like a morning bacon. The aim here is an orchestra, not a collection of divas trying to outshine each other.
So, you’re now halfway to becoming a hardware maestro. With these components chosen wisely, you’re setting up a stage where every player knows its part. Get these right, and you’re well on your way to crafting a custom PC that’s not just a workstation, but a well-oiled machine ready to chew through anything you throw at it.

Step-by-Step Guide to Assembling Your Custom PC
Preparing Your Workspace and Tools Needed
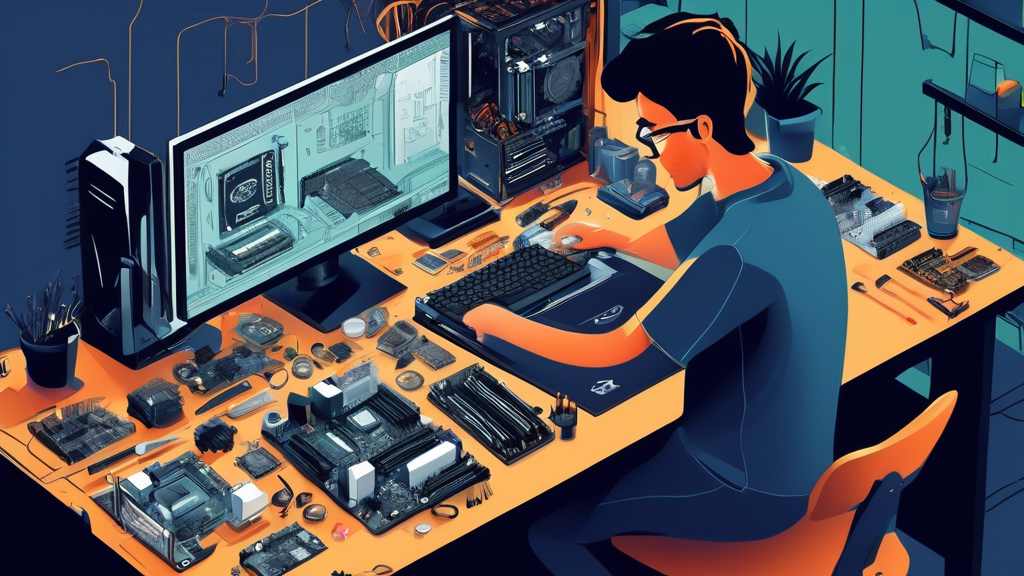
Alright, tech enthusiasts, it’s time to roll up those sleeves! Before diving into the intricate dance of circuit boards and screws, let’s talk setup. Imagine yourself as a skilled artist about to craft a masterpiece. You wouldn’t start without a tidy workspace and your favorite brushes, right? So, clear a spacious, well-lit area—your future PC deserves it! Gather tools like a Phillips head screwdriver, some zip ties for that oh-so-satisfying cable management, and an anti-static wrist strap to avoid giving your components an electroshock therapy session. Ground yourself; touch a metal object if you must channel your inner Zeus after a morning coffee.
Installing the CPU and CPU Cooler
Now we wade into the deep end: installing the CPU. Time to get cozy with the heart of your PC. Gently lift the arm of your motherboard’s CPU socket, and align the golden triangle on your CPU with the corresponding mark on the socket. Lower it in like you’re placing the final piece of a puzzle. And voila, the CPU is home! Clap lightly for yourself.
Next, the CPU cooler—your new best friend in the battle against heat. Apply a pea-sized dollop of thermal paste on the CPU’s center. Think frosting a delicious cupcake. Place the cooler atop it, attach the brackets, and finish by plugging the cooler into the motherboard. Now you have a CPU that’s ready to stay chill under pressure, much like yourself during this intricate process.
Mounting the Motherboard and Connecting Power Supply
With the CPU snug in place, our next mission is mounting the motherboard like a proud badge inside your case. Identify the standoff screws in your case that match your motherboard’s form factor (ATX, Micro-ATX, etc.).
Gently lower the motherboard into the case, ensuring it aligns perfectly with the I/O shield. Secure it by tightening the screws—nothing should wobble, other than a loose screw in your head from all the excitement.
Now it’s time for the literal power move: connecting the power supply. Slot the PSU into its designated area (typically at the bottom or top rear), secure it with screws, and start plugging in the cables. Your 24-pin motherboard connector and 8-pin CPU connector await their homes. You’ll feel a surge of satisfaction once everything clicks.
Installing RAM, Storage, and GPU
Let’s talk RAM—no, not the kind of ram found on farms. Random Access Memory is more like your PC’s quick-retrieval secret agent. Align the notch in the RAM stick with the slot on the motherboard and push down firmly until the clips snap into place. If building a PC were a musical, this snap would be the high note.
Storage time! Whether you’ve chosen a speedy solid-state drive (SSD) or a trusty hard disk drive (HDD), mounting it should be straightforward. For SSDs, especially the sleek M.2 types, look for the designated slot on the motherboard, angle it in, push down, and screw it into place. HDDs are less glamorous but equally vital—slot them into their bays and connect the SATA and power cables.
Now the crown jewel: the Graphics Processing Unit (GPU). Holding this shiny beast feels powerful, doesn’t it? Locate the PCIe slot on your motherboard—usually reinforced for strong and mighty GPUs. Pop open the adjacent expansion slot on the case, slide the GPU in until it clicks, and screw it tightly. Connect the necessary power cables from the PSU, and marvel at the sight. Your PC now has a soul.
Cable Management Tips and System Checks
Alright, maestro, you’ve practically orchestrated a symphony here. Next up: the fine-tuning of cable management. Oh, the untamed wilderness of cables! Take a few zip ties and gracefully tie back that jungle into neat, manageable vines. Route cables through the designated channels and crevices in your case. Better cable management isn’t just esthetically pleasing—it also improves airflow, keeping your system cool.
With the cables tamed, it’s time for a final checkup. Go over all connections: CPU, GPU, RAM seated correctly, and storage devices plugged in. Like a seasoned chef, you double-check your masterpiece before it hits the table.
Take a deep breath, hold that power button, and brace yourself for the glorious hum of fans spinning to life, LEDs glowing in harmony, and the sweet sight of a boot screen. If any hiccups occur, don’t slam your desk in dismay. Double-check connections, refer to your motherboard’s manual, and you’ll troubleshoot like a pro.
By now, your custom PC should be as ready as a knight in shining armor to conquer digital realms or render pixel-perfect graphics. You’ve not just built a PC; you’ve created a faithful companion in your techie journey. Cheers to that!

4. Post-Build Tips and Troubleshooting
Congratulations, your custom PC is up and running, and you’re ready to conquer the digital world! But wait, there’s more to know to keep that beast roaring. Let’s dive into what you need to do post-build, from installing and optimizing your operating system to dealing with those inevitable hiccups and keeping your machine in peak condition.
Installing and Optimizing Your Operating System
Say hello to the backbone of your custom PC – the operating system (OS). Whether you’re a fan of the sleek Windows 10, an open-source advocate with Linux, or even dabbling in MacOS with a hackintosh, the first step is getting your OS installed. Grab a USB stick (8GB or more should do the trick), download the OS from the official website, and use a tool like Rufus to create a bootable drive.
Plug it in, reboot, and enter the BIOS by hitting a key (usually F2, DEL, or Esc). Change the boot order to prioritize your USB stick, and voila! Follow the installation prompts to get the OS set up. But the journey doesn’t end there. Once you’ve joined the OS club, it’s time to optimize. Start by updating all necessary drivers – GPU, Motherboard, etc., and turn off any bloatware to keep things running smooth as butter. Remember, a clutter-free PC is a happy PC!
Basic Troubleshooting Common Issues
Alas, the tech gods might decide your initiation is not complete without facing some challenges. Here are top troubleshooting techniques for common issues:
- PC Won’t Boot: This is the ultimate gut-punch, but don’t panic. First, double-check all cable connections inside the case. Ensure the power supply switch is turned on. Sometimes, it’s as simple as a loose cable or an unseated component.
- No Display: This could be one of many things. Check the monitor cable and make sure it’s connected to the GPU, not the motherboard’s video output. If that’s not the issue, reseating the RAM and GPU can work wonders.
- Random Crashes or Freezes: This can be tricky, but start by making sure your system isn’t overheating – those CPU fans aren’t just for show! Keep an eye on temperatures using software like HWMonitor. Also, bad RAM could be the culprit – use tools like MemTest86 to check for faulty memory.
- Internet Connectivity Issues: Ah, the frustration of no internet! Make sure your Wi-Fi card or Ethernet cable is properly connected. Updating network drivers might also resolve the problem.
Regular Maintenance Tips for Longevity
Think of your custom PC as a high-performance sports car; regular maintenance will keep it purring. First up: dust. Your cooling system’s mortal enemy. Invest in a can of compressed air and routine cleaning. Focus on the fans and vents, your PC will thank you for it.
Keep your software sharp too. Regularly update your operating system and critical drivers. And for the love of everything holy, run antivirus software. Even the most careful surfers can stumble upon malware.
But wait, don’t just stop there. Every month or so, take a peek inside your case. Look for any dust build-up or any potential cable issues. An hour of preventive maintenance can prevent hours of troubleshooting down the road.
Enhancing Performance with Overclocking and Upgrades
This is where the magic happens – pushing your custom PC to its limits with overclocking and future upgrades. First, let’s talk overclocking. It’s the art of tuning your CPU or GPU to run faster than its factory settings. With great power comes great responsibility (and heat). Make sure your cooling setup is up to the task. Use software like MSI Afterburner for GPU overclocking and CPU-Z for CPUs. Start slow, test frequently, and always keep an eye on temperatures.
Planning for upgrades is also key. Consider future-proofing by leaving room for additional RAM, and opting for a motherboard that supports the latest CPU sockets and PCIe standards. The beauty of a custom PC is its modularity. Today’s beast can be tomorrow’s demigod with just a few swaps and additions.
That’s your post-build journey in a nutshell. Armed with these tips, your custom PC won’t just run – it’ll fly. So, tweak with confidence and game on!
And there you have it, folks! Whether you’re a first-time builder or a seasoned hardware guru, putting together a custom PC is truly a journey worth taking. The moment you tighten that last screw or see the boot screen fire up for the first time—it’s sheer magic, coupled with a heavy dose of triumph, like watching your kid graduate, but geekier.
You’ve now danced with the delicate orchestra of components—the power and precision of the CPU, the graphical might of the GPU, the supportive framework of the motherboard, the lightning-fast speed of your RAM and the ample storage units—all harmonizing in a perfectly tuned symphony. By understanding not just the cost and performance benefits but also the pure joy of personalization, you’ve managed to craft your own powerhouse tailored exactly to your needs.
Navigating the labyrinth of cables to create an immaculate setup can be half the battle, but victory rewards with clean aesthetics and optimized airflow. Remember, it’s all about balance; compatibility is king, and each part needs to play nice with its neighbors. You’ve learned the secrets to installing, securing, and connecting core components; it’s like assembling a jigsaw puzzle with far more satisfying consequences.
But the adventure doesn’t stop once you hit that power button. No, this is where your relationship with your rig truly begins. You’ve prepared yourself for post-build optimizations and troubleshooting, because let’s face it, even Iron Man had Jarvis to help iron out those kinks. Whether it’s updating BIOS, installing drivers, or performing a ritual dance to appease the PC gods, you are ready.
Regular maintenance is the knight’s armor protecting your digital realm, ensuring longevity and peak performance. And for those who seek the thrill, overclocking your components offers that extra adrenaline rush, transforming your machine from formidable to ferocious.
By building your own custom PC, you’ve not only gained a powerful device but also an invaluable wealth of knowledge and confidence. It’s like scaling a mountain—you appreciate the summit all the more because of the climb. So go forth, game hard, code relentlessly, create passionately! You’ve built a beast. Now, let it roar!
